How to Make a Paper Mache Volcano
Tips & Articles
DIY Projects & Paper Crafts
How to Make a Paper Mache Volcano
We’ve all been there before. It’s the time of year when kids are expected to create a science project. Why not help your child with a new twist on a classic? When it comes to kids’ science projects, making a paper-mâché volcano can be a really fun one. These instructions will show you (and hopefully, your child) how to create a volcano using Bounty paper towels, vinegar, baking soda, and a little time and effort. As with all science experiments, children should be supervised while they conduct this experiment.
Materials Needed:
• Plastic Bowl
• Bounty paper towels
• Small Bottle (About 6 cm high)/Single-Serving Yogurt Bottle/Film Canister
• OR a 12-ounce Plastic Water Bottle
• Superglue
• Toilet Paper Tube
• Tissue Paper
• Masking Tape
• Paper Plate
• Film Canister
• Flour
• Water
• (Optional) Glue
• Vinegar
• Baking Soda
• Red Food Coloring
Building the Base
You can use almost anything to create your volcano’s base, depending on the size and shape of the volcano you need. In this case, we’ll be using an overturned plastic bowl. For a bigger volcano, attach a toilet paper tube to the top of the bowl. Surround it with tissue paper and masking tape to make the general shape of your volcano. The toilet paper tube also provides a ready-made mouth or "crater" for your volcano. With a little imagination, your child should be able to see the volcano take its form from this early stage.
- Grab your plastic bowl and turn it upside down.
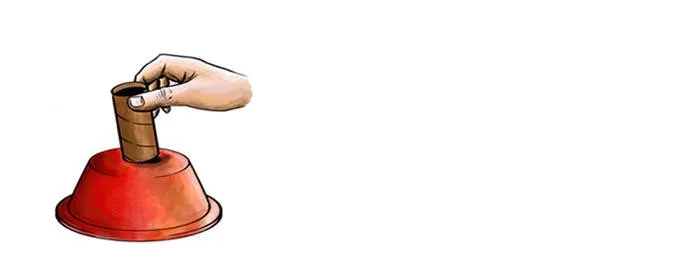
- (For a bigger volcano) Attach a toilet paper tube to the top (the underside) of your plastic bowl with superglue.
- Use masking tape and tissue paper to visually connect the toilet paper tube to the bowl. (In other words, begin to shape your volcano with masking tape and tissue paper.)
- (Optional) Attach a paper plate to the base of your volcano. (The will both widen your base and help to contain spillage when your volcano eventually erupts.)
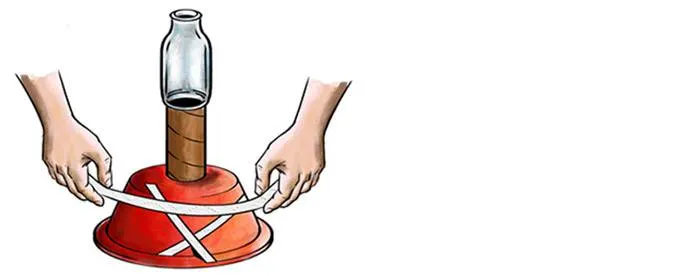
Building the Crater
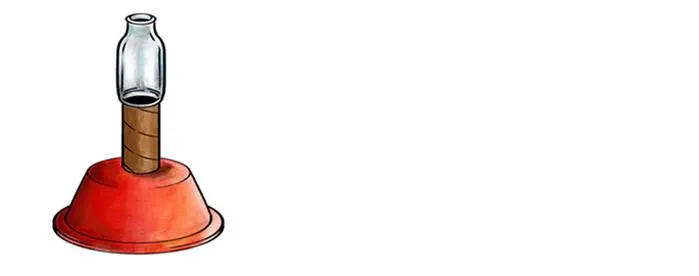
Now comes the part where we construct the crater of the volcano. The size of the volcano will dictate the size of the crater. For a smaller volcano, you’ll need a small bottle (like a film canister or a single-serving yogurt container will work best). For a larger volcano, a 12-ounce plastic water bottle will do the trick. This bottle will form the mouth or "crater" of the volcano. This will also serve as the chamber where the baking soda and vinegar will be mixed. Make sure that the bottle is made from a strong material so it will hold the vinegar without leaking. Ideally, pick a bottle with a relatively narrow neck so that when the volcano erupts, the eruption will be narrow and focused as opposed to spraying haphazardly all over the place. (While your kid might rather appreciate a messy eruption, we’re fairly confident that your child’s teacher will not.)
- If you plan to use the volcano more than once—or think you may need to replace the bottle—consider covering the bottle with a plastic bag so that the paper-mâché doesn't stick to its surface. This tip may come in handy, if you want to be able to replace the crater with a fresh bottle each time you want to make the volcano erupt.
- Superglue the bottle "crater" to the center of the base (or the top of your toilet paper tube if you wanted a bigger volcano). Make sure that the mouth faces upward, so that you can (eventually) fill it with vinegar and baking soda. Try to glue the bottle so that it's level and sturdy.
- Use masking tape and tissue paper to visually connect the bottle to the bowl. (In other words, begin to shape your volcano with masking tape and tissue paper.)
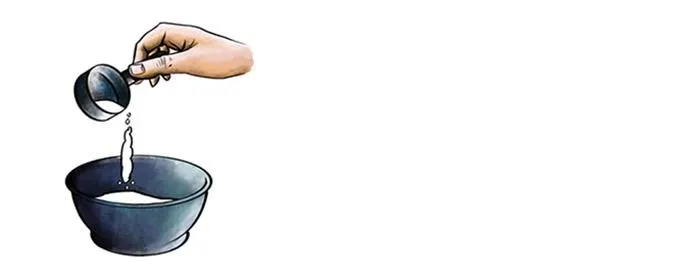
Making Your Paste
The paste mix is an integral part of making any paper-mâché project. To make your paste, you’ll need water, flour, and sometimes glue. A good ratio is one to six for flour and water, respectively. You may add one or two tablespoons of glue or paste to make your mix a little stronger, but it shouldn’t be necessary.
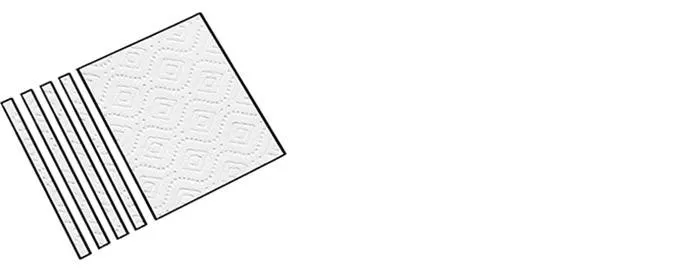
Preparing Your Paper Towels
Here’s a little tip that the best paper-mâché volcano makers don’t want you to know—Bounty paper towels work best. They absorb the paste mix best, and they're about a zillion times easier to work with than copy paper or construction paper.
- Tear the paper towels into strips about an inch wide and six inches long. They don't need to be exactly the same size and length. Remember that wider, shorter pieces are easier to work with, and provide better coverage.
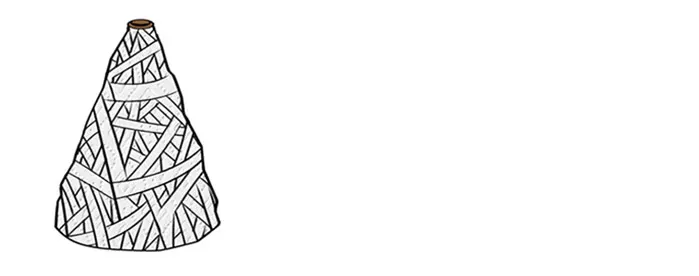
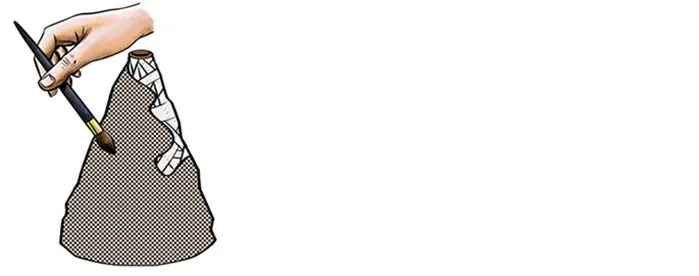
Sculpting Your Volcano
It’s time to start building your volcano. We’ll begin by building a base over your base.
- Dip a paper towel strip into your mix.
- Remove any extra paste by running the paper between two fingers.

- Lay the strip over your base. (It’s a good idea to position the paper towel strips randomly. If you lay them all in the same direction, you’ll most likely end up with unintended edges or cracks when it dries.)
- Continue laying strips of paper over the base until it is completely covered.
- Allow each full layer of paper towel strips to dry completely before adding another layer. If you don’t, the entire project will take longer to dry. Also, when it’s time to paint it, any layers of moisture will be caught inside. This can cause your volcano to crack, collapse, or even sprout mold.
- Continue to add more layers until the desired thickness is achieved. (Remember to wait until the previous layer has dried before continuing with the next layer.)
- Keep some extra Bounty paper towels around to wipe little hands clean. (Though, truth be told, you haven’t lived until you’ve tried to get paper mix out of your child’s hair, ears or nose.)
Painting Your Volcano
Okay, let’s get that volcano looking like a volcano. Acrylic paints work best with paper-mâché. Grays, browns and a little black can provide the look of stone for an active volcano, while greens and yellows make for a great, grass-covered dormant volcano. If you've got some artistic ability, spill red and yellow from the crater down the sides to create magma spewing from an erupting volcano.
- Paint the volcano.
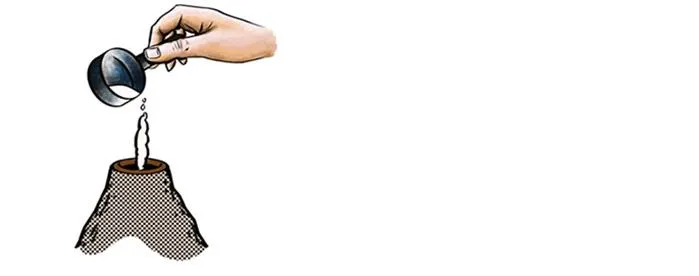
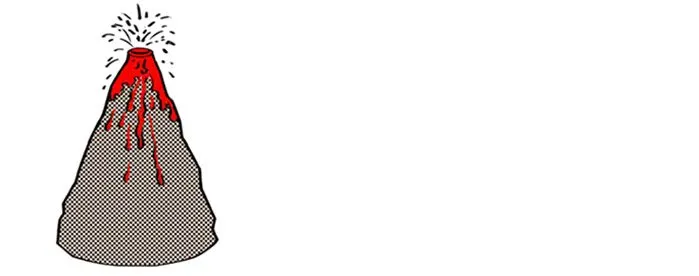
Get Ready to Explode
The eruption happens as a result of a chemical reaction between two substances—baking soda and vinegar. You'll need up to a cup of vinegar and two tablespoons of baking soda, though this may change depending on how large your volcano and its crater happen to be.
- Shake two tablespoons of baking soda into your volcano’s crater.
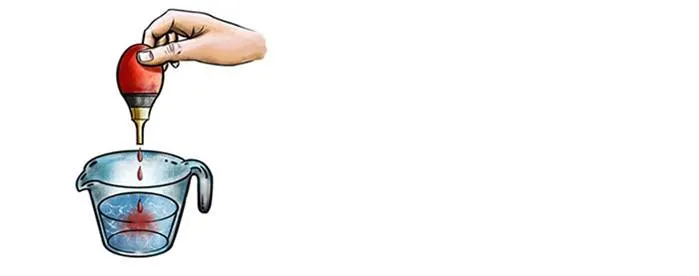
- Mix three tablespoons of red food coloring with a quarter cup of vinegar.
- Pour the vinegar/food coloring mixture into the mouth of your volcano.
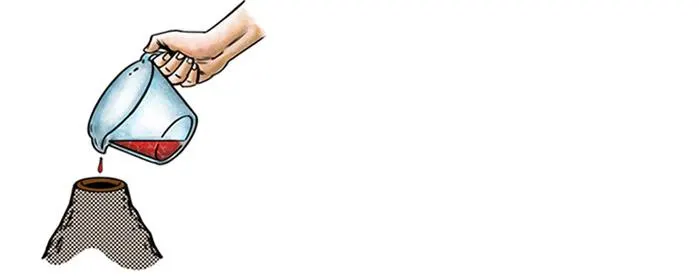
- Watch your volcano erupt!
Clean Up
Well, that’s quite a mess you’ve made! Congratulations! Use a damp Bounty Paper TowelsBounty paper towel to clean up your eruption, and make sure to get any that may have spilled onto the floor. Once your volcano sculpture has dried it should be ready to be used again.