DIY Paper Roll Craft
Tips & Articles
DIY Projects & Paper Crafts
DIY Paper Roll Craft
Did you know your empty Bounty paper towel rolls can be used beyond the kitchen? Save them for a rainy (or sunny) day to get crafty with the kids. Here are a few ideas to get you started.
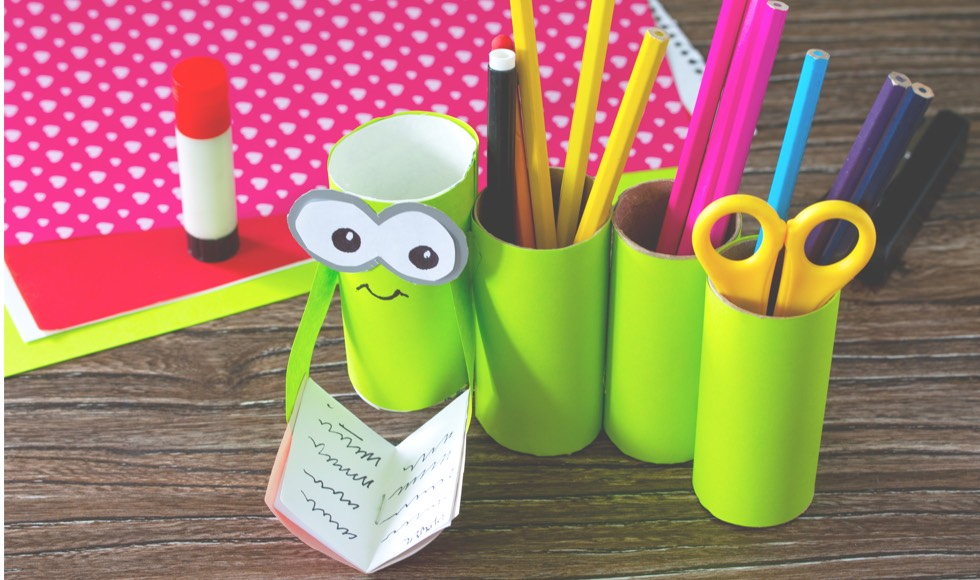
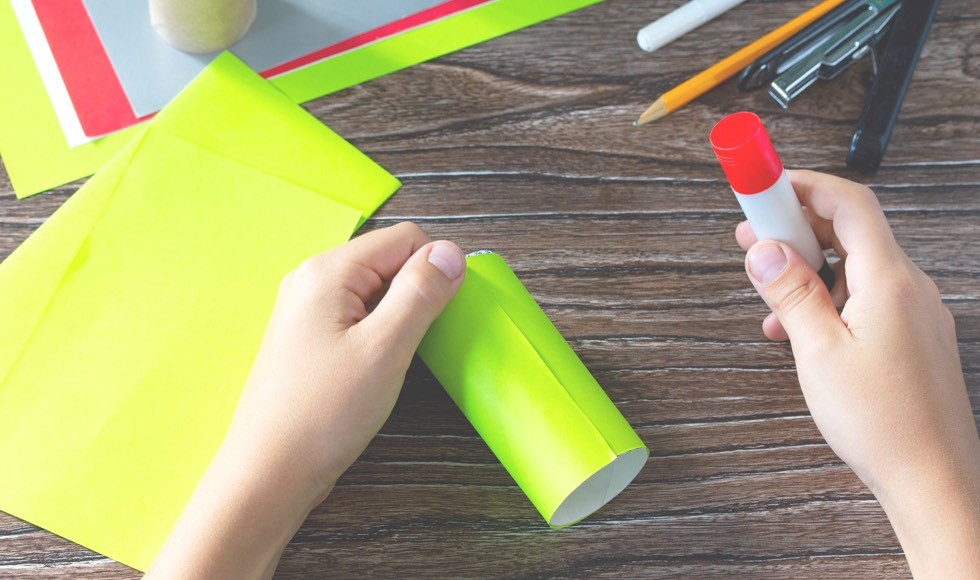
How To Make A Paper Roll Pencil Holder
Whether your desk is in a state of organized chaos or straight-up messy, get creative and make a home for your loose pens and pencils with a little paper towel roll craft. This nifty desk organizer is super simple to make and should take you all of 10-20 minutes.
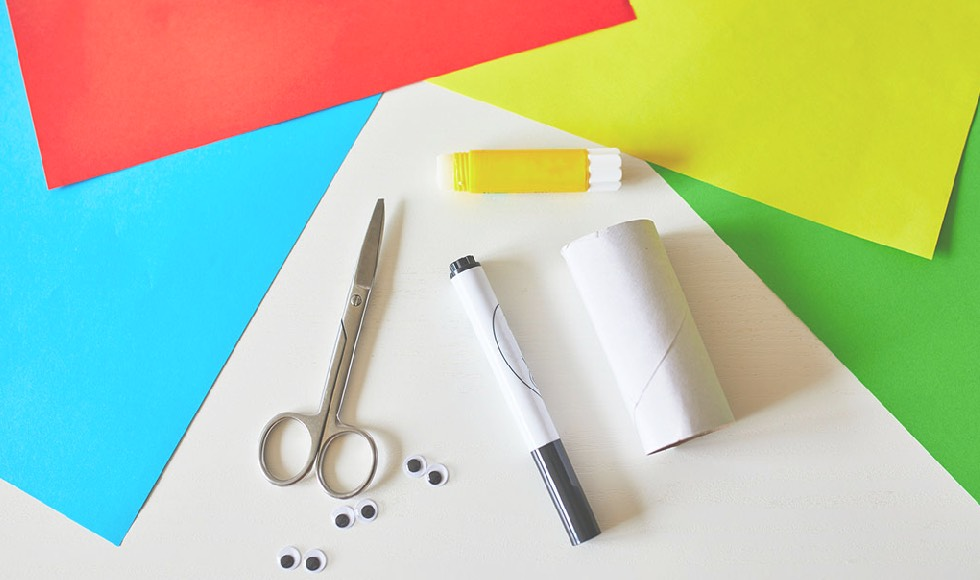
What You’ll Need:
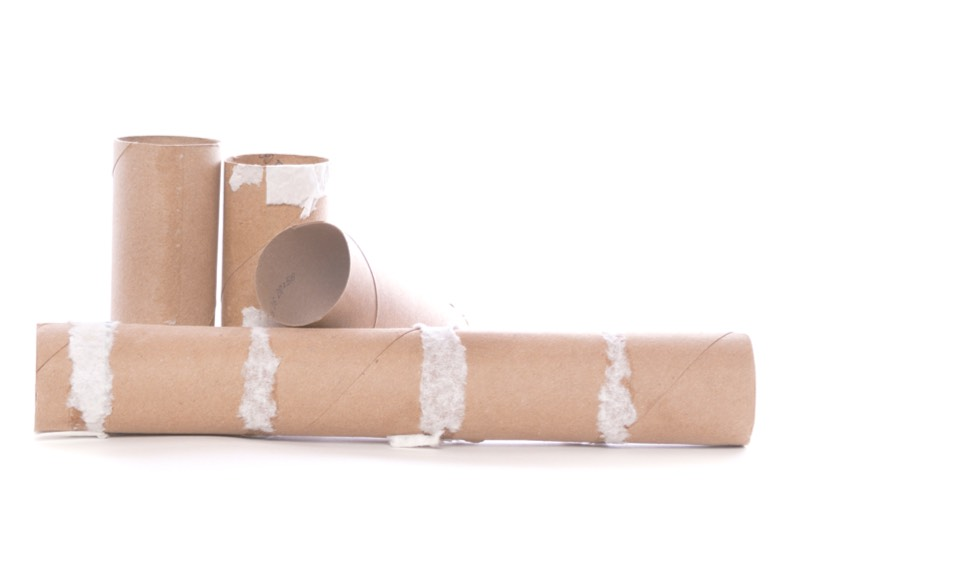
Empty Bounty paper towel roll
Cardboard
Scissors
Tissue paper (colored or patterned)
Glue
Decorative tape
Instructions:
- Start by cutting your empty Bounty paper towel rolls in half so you have 3-5 tubes depending on how many you’d like for your paper pencil holder.
- Grab your tissue paper then measure and cut enough to wrap around each roll individually 3-4 times. Take your craft glue, apply to the back of the tissue paper and wrap around each of the rolls. Leave to dry.
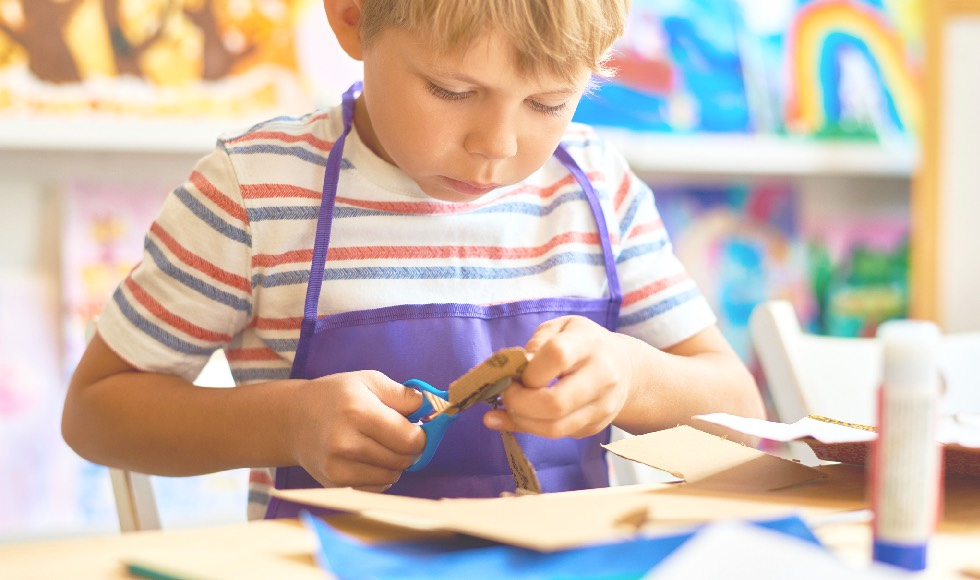
- Once dry, create a base for your paper roll craft pencil holder. Take your sheet of cardboard and stand all your rolls together in a cluster then draw and cut out your desired shape. It could be square, round, wonky…whatever you like, as long as it’s big enough to house all your rolls.
- Cover the base with glue and layer 3-4 times with tissue paper.
- Once dry, grab your decorative tape to line the edges of each individual roll and your base so they’re finished with a colorful trim (it also hides any rough edges).
- Time to put it together! Arrange your tubes on the base and glue into place – hold each one for about 10 seconds so it’s secure.
- Fill with your pencils and pens!


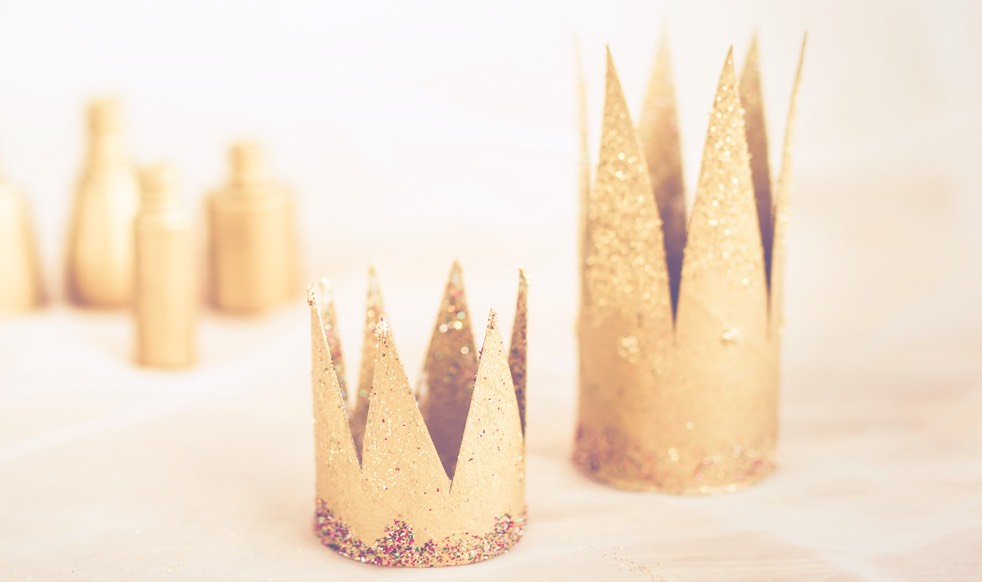
How To Make A Paper Roll Crown
Make your kids feel like royalty with their very own paper roll crown for your prince or princess.
What You’ll Need:
Empty Bounty paper towel roll
Colored paint and paint brush
Scissors
Glue
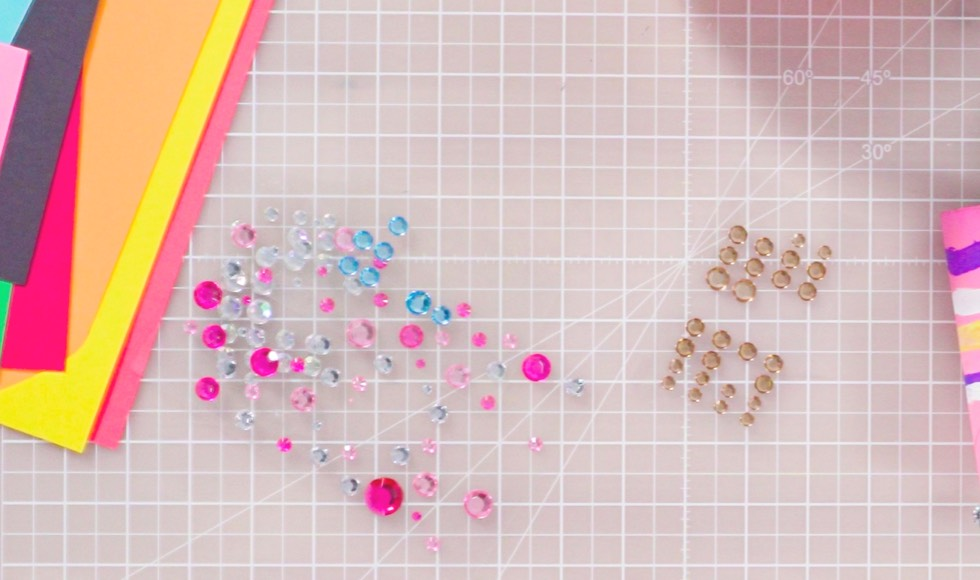
Gems/stickers/other decorations
Elastic cord
Hole punch pliers
Instructions:
- To make your paper princess or prince crown, start by cutting your empty Bounty paper towel roll in half horizontally.
- To form the points of your crown, draw a zig-zag right around the top of your roll, coming to about halfway down the tube. Then cut out each of the points.
- Paint your crown the color of your choosing and leave to dry.
- Once dry, glue your gems and decorations into place.
- For the chin strap, punch a hole (or use scissors) on either side of your crown at the base aka the non-pointy end.
- To finish, measure and cut your elastic cord to the right length for your prince or princess. Tie either end through the holes you’ve created at the base of the crown.
- Pop crown on head and commence royal duties!

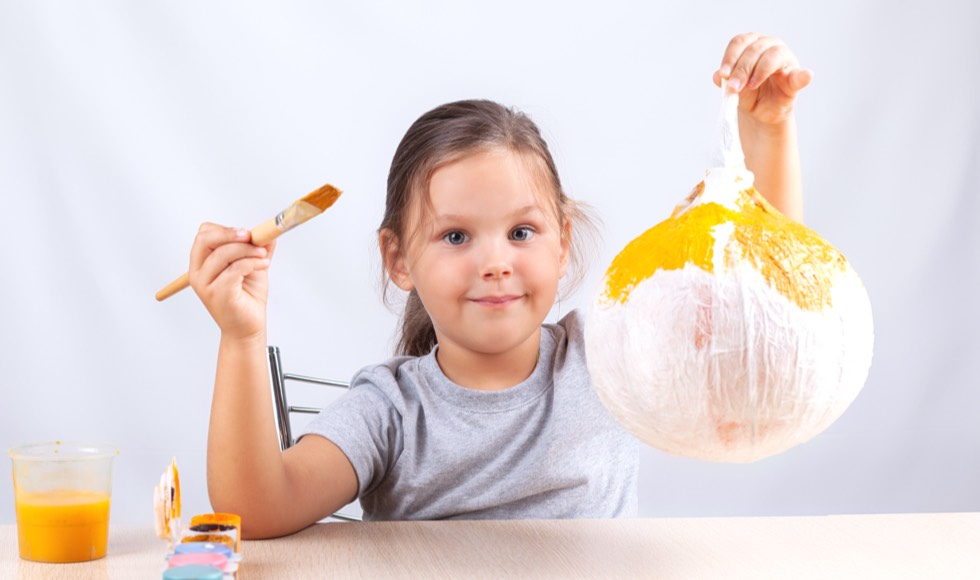
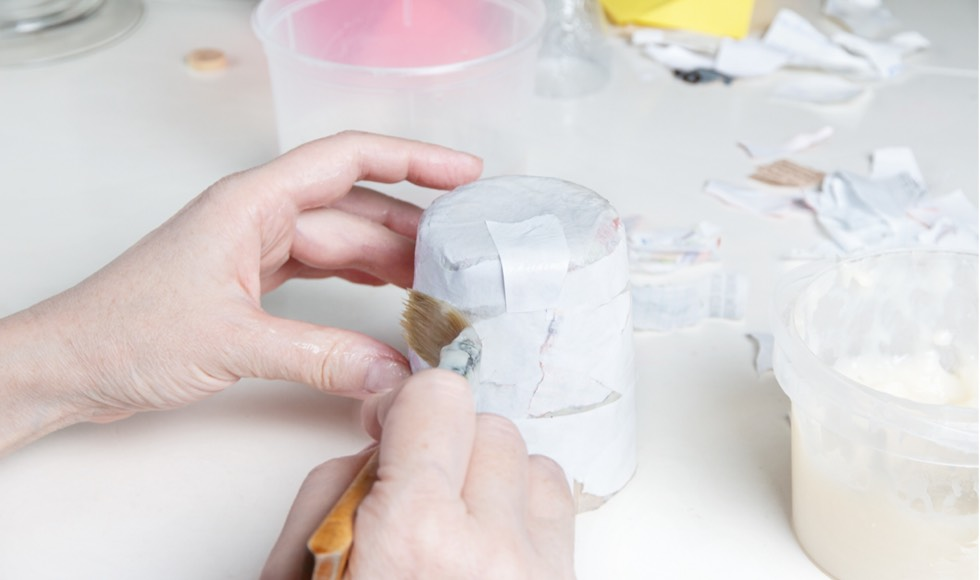
How To Paper Mache With Paper Towels
If you really want to push your paper towel arts and crafts to the next level, paper mache might be for you. And Bounty paper towels are perfect for whatever structure you’re making. They’re sturdier, easier to mold and since they’re already white, don’t require a base layer of paint before decorating.
What You’ll Need:
Bounty paper towels
Glue
Water
Large bowl
Paint and paintbrush
Base structure aka a balloon or box (what you’ll mold around)
Newspaper
Instructions:
- Before you start, protect your counter or tabletop with newspaper and set up your base structure.
- Begin by preparing the paper. Tear your Bounty paper towel sheets into long strips roughly one to two inches wide. And you’ll need a good amount depending on what you’re making.
- For the paste, add two parts white glue to one part water to your bowl and mix.
- Time to get layering! Dip a paper strip into the paste mixture and completely saturate. To remove excess paste, slide the strip against the edge of the bowl.
- Place the strip over the surface of your structure and smooth it out with your fingers. The smoother it is, the easier it’ll be to paint.
- Continue until you’ve created your full base layer. Let it dry completely - it may take up to 24 hours.
- Once dry, begin your second layer. Continue this process until you get to the shape you’re after. Three or four layers should do the trick!
- Once finished and completely dry, time to get painting!