DIY Projects & Paper Crafts
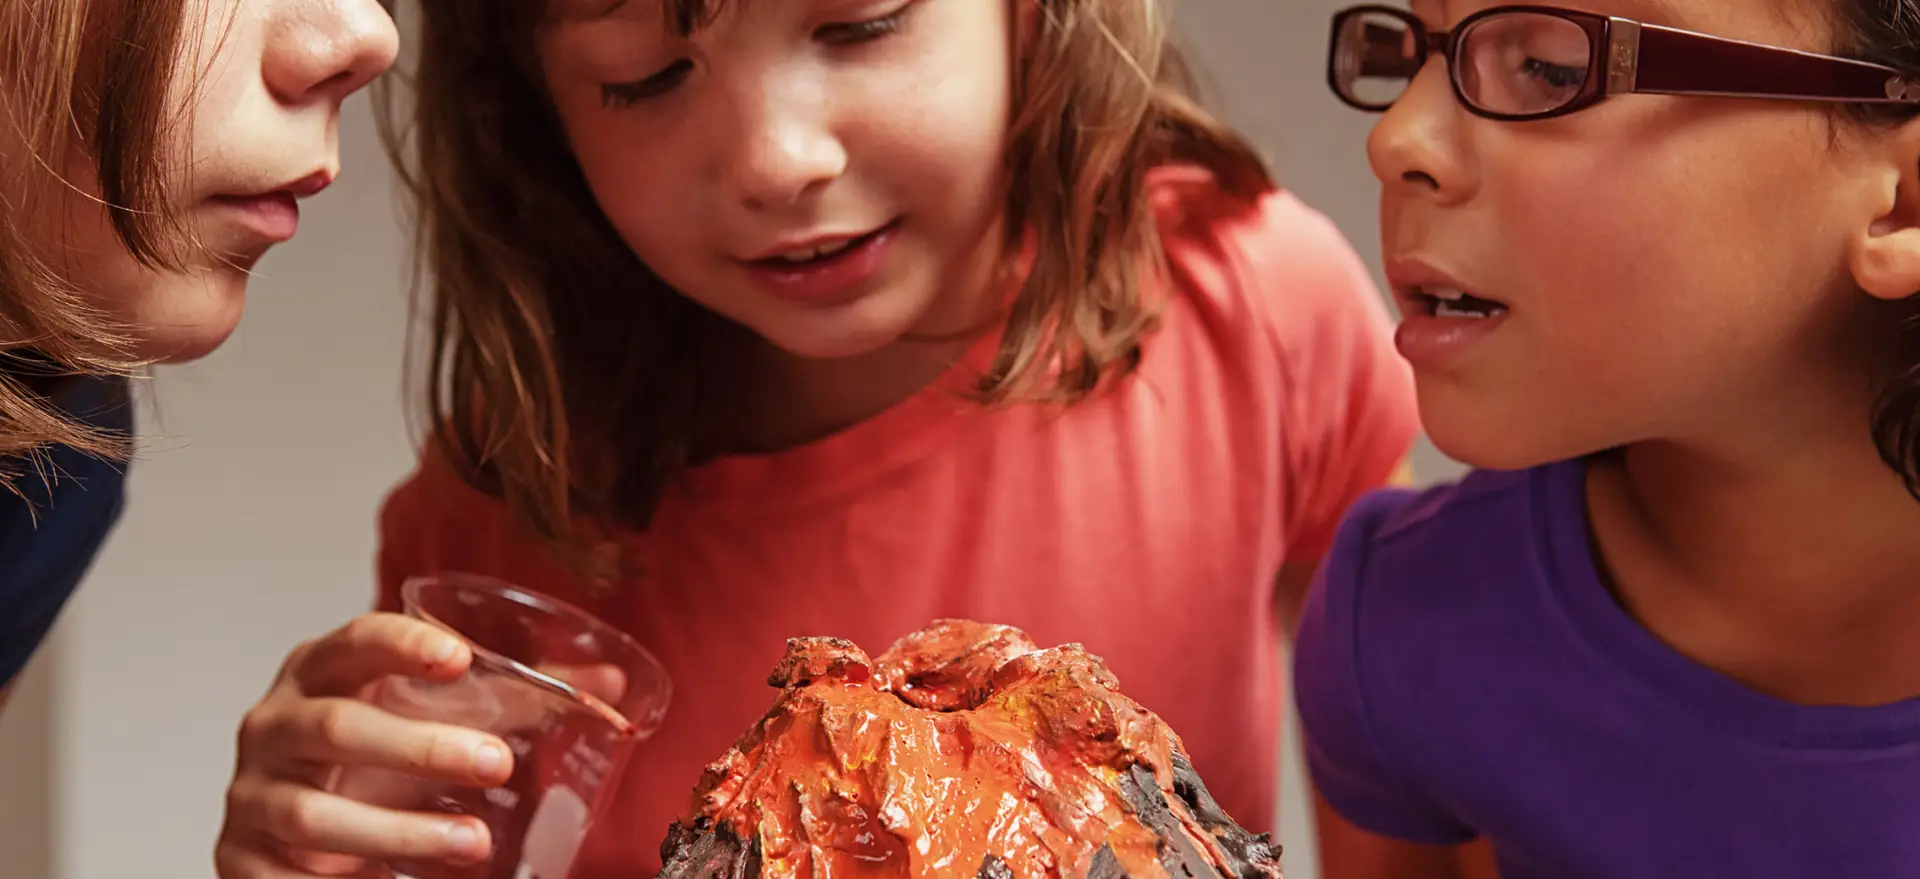
How to Make a Paper Mache Volcano
We’ve all been there before. It’s the time of year when kids are expected to create a science project. Why not help your child with a new twist on a classic? When it comes to kids’ science projects, making a paper-mâché volcano can be a really fun one. These instructions will show you (and hopefully, your child) how to create a volcano using Bounty paper towels, vinegar, baking soda, and a little time and effort. As with all science experiments, children should be supervised while they conduct this experiment